Installation and Setup#
Stellarium is free open source planetarium software that can be used to view the night sky from any location on Earth. It is available for Windows, Mac, and Linux operating systems. This guide will walk you through the installation and setup of Stellarium on your computer.
Installation#
You can download Stellarium from the Stellarium website. At the top of the page are links to installers for Linux, Mac and Windows. Click to download the installer for your system. The installation process is straightforward and should only take a few minutes to complete.
Windows Installation#
For Windows installation, after downloading the proper installer for your version of Windows run the executable file by double clicking it. Follow the on-screen instructions to install Stellarium on your computer. Once the installation is complete, you can launch Stellarium from the Start menu or desktop shortcut. You will find several Stellarium options in the applications menu. Stellarium OpenGL should work on most modern systems. If not, try one of the other options. The users guide will provide more information on the different versions.
Mac Installation#
For Mac installation, after downloading the zip file double click to extract the app file and copy or drag it to your Applications folder. Double click the Stellarium app to launch the program. If you get a warning that the app is from an unidentified developer:
Go to the Apple menu > System Settings, then click Privacy & Security in the sidebar.
Go to Security, then click Open.
Click Open Anyway.
Enter your login password, then click OK.
Linux Installation#
For Linux users, I apologize in advance for telling you how to install your software. You probably already know how to do this. There are a couple options for installing on Linux. It is most likely in your package manager. For example, on Debian based distros such as Ubuntu you can install Stellarium with the following command:
sudo apt-get install stellarium
It is likely not an up-to-date version, but it will work. There is also a PPA available for users of Ubuntu and it’s derivatives. You can add the PPA and install Stellarium with the following commands:
sudo add-apt-repository ppa:stellarium/stellarium-releases
sudo apt-get update
sudo apt-get install stellarium
This will give you the most up-to-date version of Stellarium and keep it updated. This is way I recommend you install Stellarium on Ubuntu.
There are PPAs for weekly and nightly builds available as well. You can find the instructions at https://launchpad.net/~stellarium. These are not recommended for general use, but if you want to test the latest features and bugs, they are available.
There are also AppImage and Snap versions available for Linux users. These are self-contained packages that can be run on any Linux distribution. You can download the AppImage from the Stellarium website. The AppImage is a single file that you can run from the command line or by double clicking the file. You may need to make the file executable before running it. You can do this with the following command:
chmod +x Stellarium-24.4-qt5-x86_64.AppImage
A Flatpak version is available in the Flathub repository or possibly your systems software manager.
You can also download the source code from the Stellarium website or Github Stellarium and build and install it yourself if you are so inclined, but that is your business.
Initial Setup#
When you first launch Stellarium, the default settings will show you the sky as it appears from your location at the current time and date. At the bottom of the screen is a status bar that shows the current location, date and time, and the field of view. Moving the mouse pointer to the left bottom of the screen where the status bar is will show a toolbar with tools to show and hide objects, increase the time rate, exit Stellarium, and other options.
Location and Time#
The first thing you should do is set the location and time. If you move the pointer to the lower left side of the screen a toolbar will show on the left side of the screen with various configuration options. The top button will open a dialog where you can set the location.
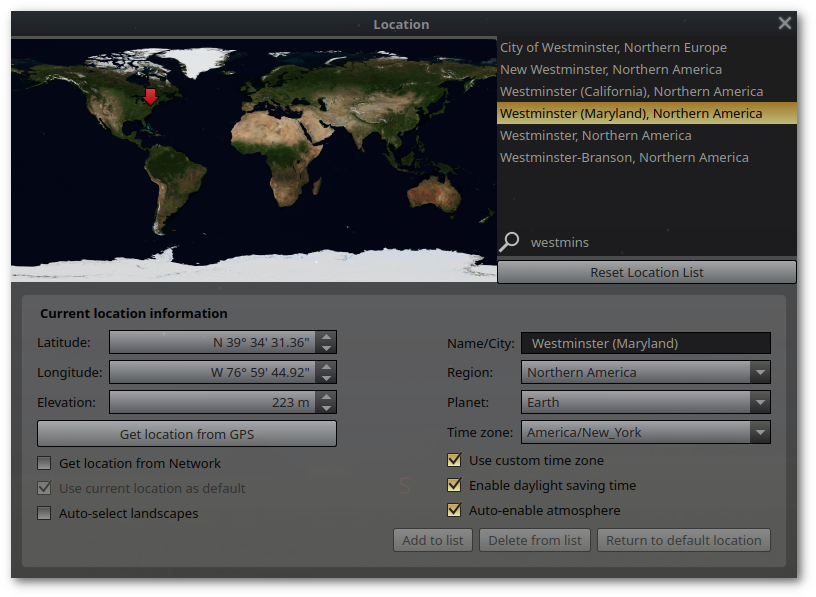
Fig. 1 Location dialog#
By default it is set to get your location from your IP address. Uncheck “get location from network” and select a location from the list on the upper right. You can set it manually by entering the latitude and longitude and elevation. Give it a name and click Add to list. Check the box to set it as the default location.
Below the location button is the time configuration button. Click it to open the time and date dialog.
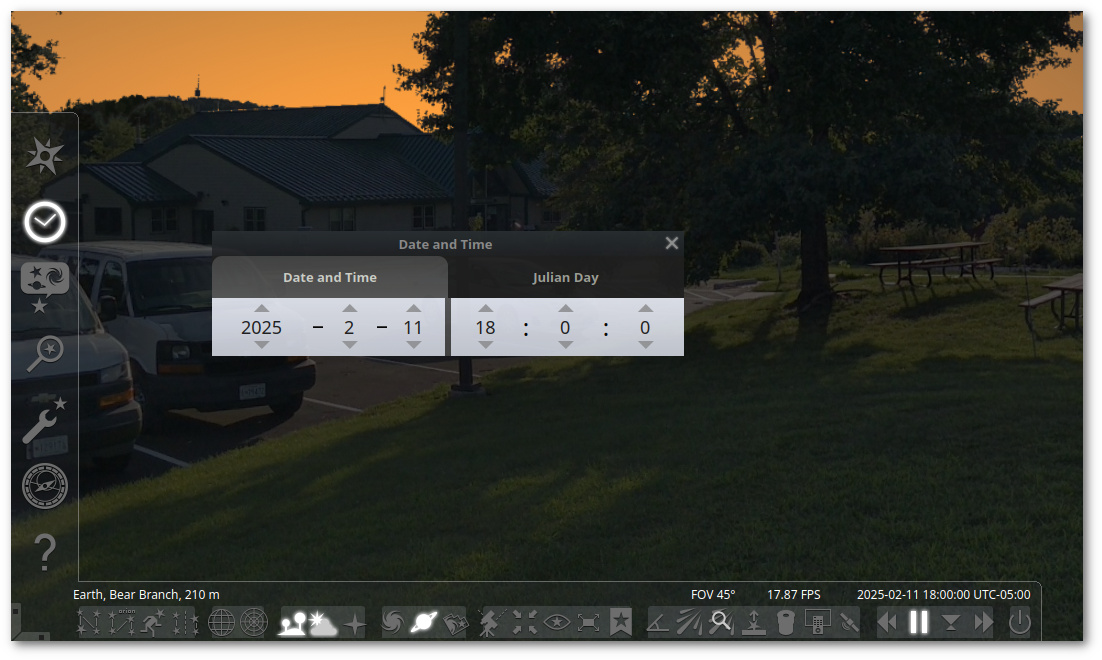
Fig. 2 Time and Date dialog#
You can enter the date and time as a calendar date or as Julian date. You can also set it to the current system time, pause the time, or set the rate using the buttons on the right side of the bottom toolbar.
Basic Configuration#
The third button from the bottom on the left toolbar is the configuration button. Click it to open the configuration dialog.
The main configuration tab has language setting, high accuracy planetary ephemeris (these are unnecessary), and buttons to save or restore settings and the default view. Any configuration changes must be saved if you want them to persist after restarting Stellarium. The save view button will save the current view as the home view that you can return to with Ctrl+H.
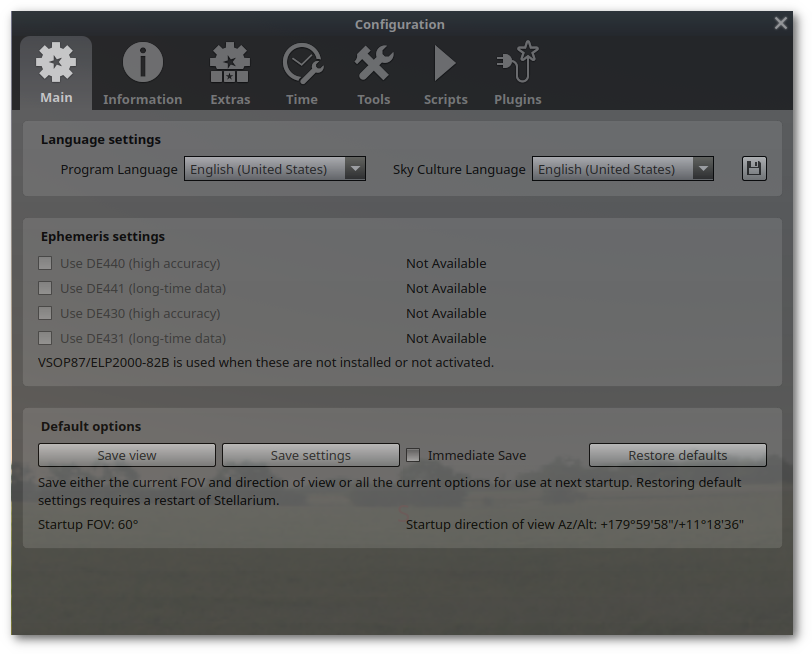
Fig. 3 Configuration dialog#
The selected object information tab is set to “All available” by default (not “Default”, for some reason). This is excessive. Change it to “Default”, or “Customized” to show only the information you find useful.
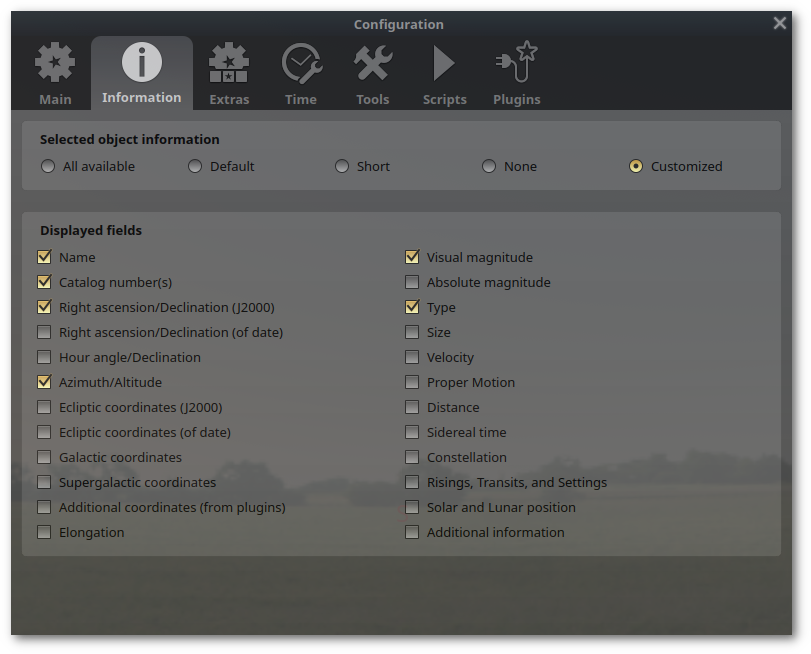
Fig. 4 Object information configuration#
The next tab is “Extras”. Here you can add or remove buttons from the bottom toolbar. There is also a button to download additional star catalogs. Click the button until all the catalogs are downloaded. This give you stars up to magnitude 18.
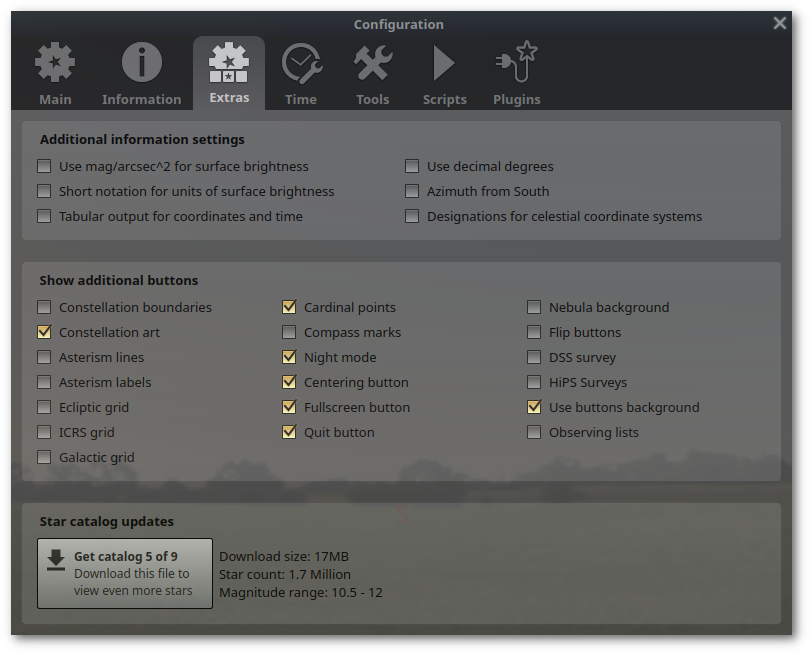
Fig. 5 Extra configuration#
The next is the time configuration tab. Here you can set the time that is displayed at startup. The default is system date and time, but system date at a specified time is a good option.
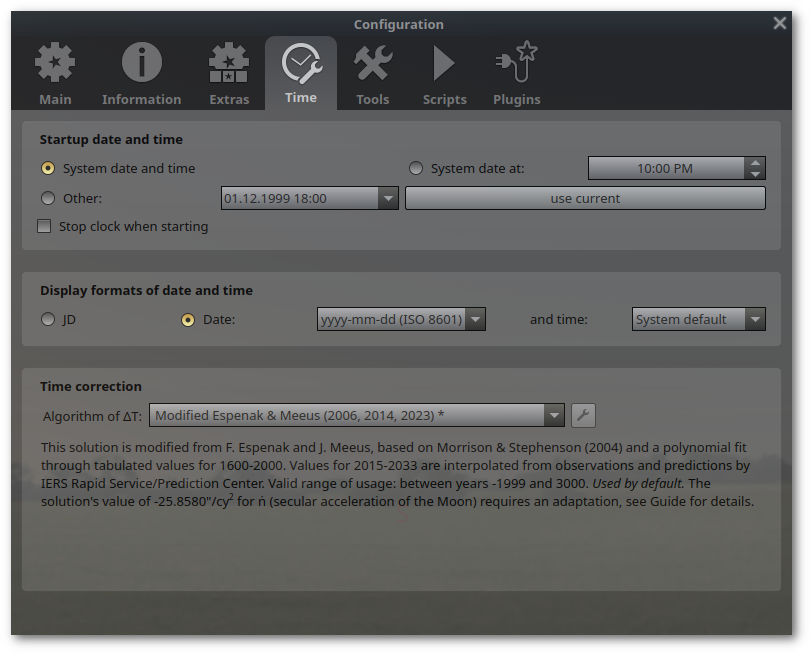
Fig. 6 Time configuration#
This concludes the basic configuration. Remember to save your settings if you want them to persist after restarting Stellarium. The settings will be saved in the config.ini file in your home directory.
On Windows this is in:
C:\Users\username\AppData\Roaming\Stellarium.
On Mac it is in:
~/Library/Application Support/Stellarium.
On Linux it is in:
~/.stellarium.
This is the configuration file that runs at startup. If you run it from the command line, you can specify a different configuration file with the -c option. For example, stellarium -c myconfig.ini will start Stellarium with those default settings.
PS: You might be asking yourself, “Should I fiddle with the config.ini?” Absolutely! Fiddle with the settings. Fiddle with all the settings. Fiddle with them until you get the view you want. Then save them. If you break it, just delete the file and it will generate a new one with defaults the next time you run Stellarium. Or you could back it uo first. That’s probably a good idea.